
Summary
Printing TPU on a Bambu Lab H2 series printer requires a little more preparation than rigid filament, particularly when using flexible TPU that cannot travel through the AMS. Dry filament, the correct nozzle, a low-friction filament path, careful build plate adhesion, and an occasional cold pull can make TPU printing far more consistent.
TPU Has Opinions About Water
TPU absorbs moisture, so a spool that has been sitting out for a while may need some time in a filament dryer before printing.
Fortunately, wet TPU tends to announce itself.
If the filament steams, fizzes, or pops while coming out of the nozzle, moisture is a likely culprit. Drying the spool before spending an afternoon changing slicer settings is generally the more productive order of operations.
Getting TPU Back off the Build Plate
Usually, build plate adhesion is something we spend a great deal of time trying to improve.
TPU occasionally provides an opportunity to experience the opposite problem.
It can bond extremely well to a build plate, so I like to start with smaller parts until I know how aggressively a particular combination of TPU and build surface is going to stick.
A glue stick can be used as an interface layer before printing to help reduce the bond, depending on the build plate and filament combination. Follow the build plate manufacturer's guidance for the surface being used. Part orientation can also help. If the design allows it, orienting the model to reduce its contact area with the build plate can make removal considerably easier.
If the part is already printed and refusing to leave, rubbing alcohol may help release it when it is compatible with the build plate. Apply it gradually and follow the build plate manufacturer's guidance.
Use care when removing TPU from the build plate. Avoid aggressive prying that could damage the print surface or send a scraper somewhere it doesn't belong.
TPU for AMS
The Bambu Lab AMS is designed around motors, gears, and tubes that automatically load, unload, and switch filament.
That works very well when the filament behaves like a reasonably rigid strand of plastic. Very flexible TPU is less cooperative.
Bambu Lab does, however, offer TPU for AMS specifically for this application. That material can be loaded directly into the AMS and handled much more like ordinary filament.
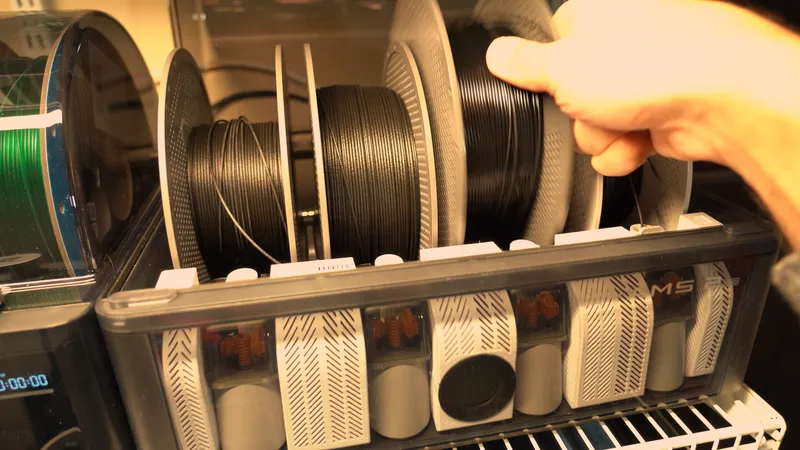
There are still a few setup details worth checking:
- Use a 0.4 mm nozzle or larger.
- Avoid using a nozzle that has previously been used with carbon fiber or glass fiber filaments.
- On an H2D or H2C, use the right nozzle, which is the nozzle without the lifting action.
- If the nozzle was recently used with a high-temperature material, be prepared to perform a cold pull before printing TPU.
- A textured or smooth PEI sheet can be used for TPU for AMS.
From there, select the TPU for AMS profile in Bambu Studio and print normally.
Printing Softer TPU Without the AMS
More flexible TPU cannot reliably travel through the complete AMS filament path. For those materials, I bypass the AMS and give the filament a much simpler route to the extruder.
The basic nozzle and build plate requirements remain similar to TPU for AMS. A 0.6 mm nozzle can also be useful in some situations, both for print quality and increased print speed.
I start by removing the top cover of the H2 series printer so I can reach the extruder and filament path.
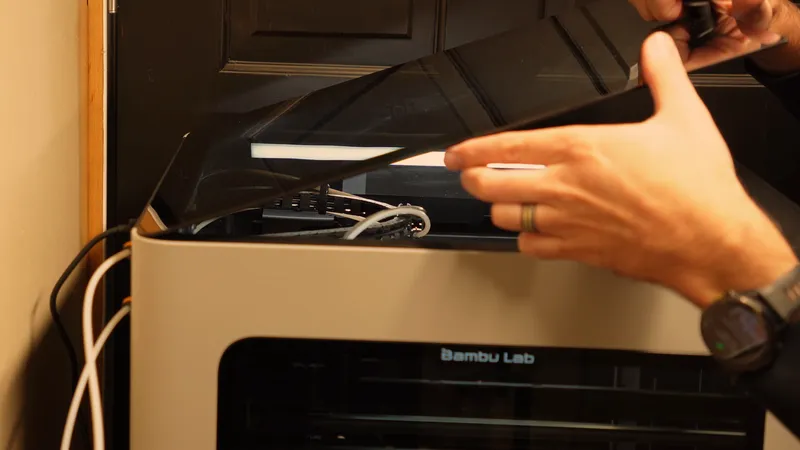
If I am using a dedicated nozzle for TPU, this is also a convenient time to install it. On the H2D or H2C, I use the right nozzle for TPU and leave it dedicated to that material for the duration of the print.
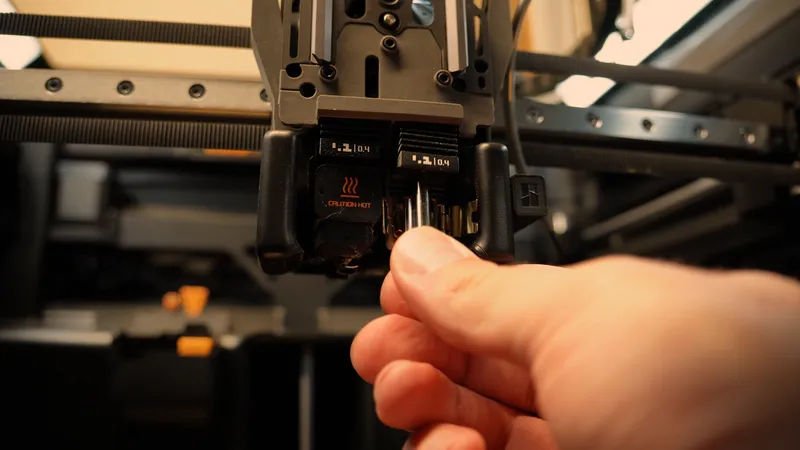
Setting Up the External Filament Path
First, I disconnect the PTFE tube from the right extruder by pushing down on the fitting and pulling the tube free.
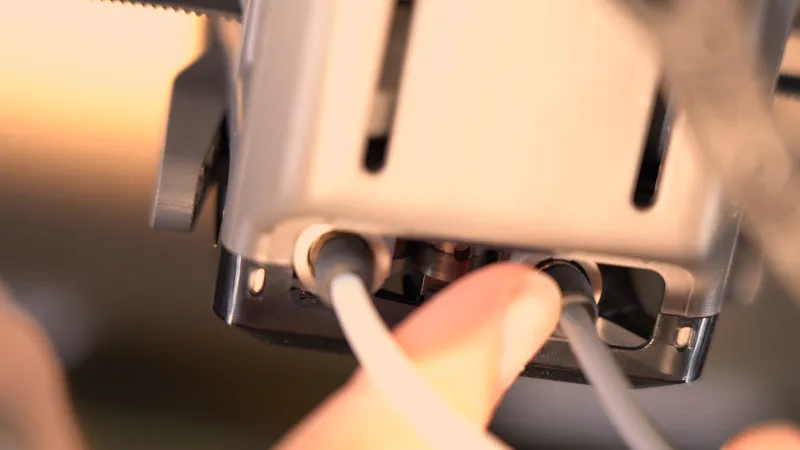
At the rear of the printer, I do essentially the same thing: I push down on the black grommet and pull the PTFE tube away.
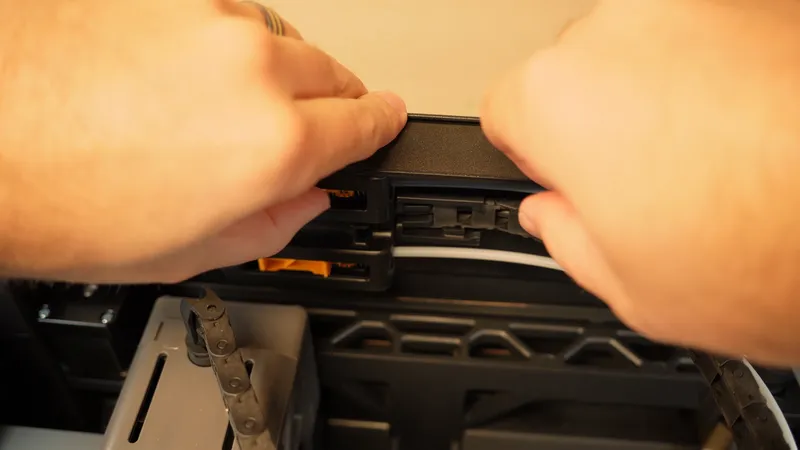
The H2 series has a port at the rear that can be used for TPU. I feed the filament through this opening until it emerges inside the printer.
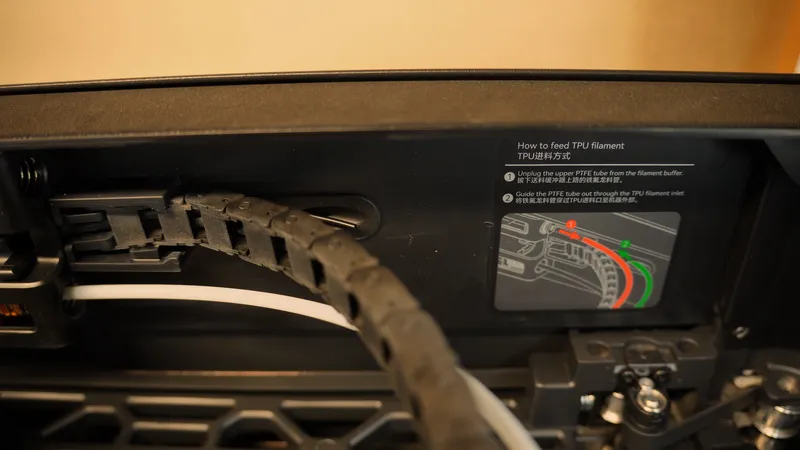
From there, I feed the TPU through the PTFE tube that was disconnected earlier.
I push the PTFE tube back through the rear port rather than leaving the filament to rub against the surrounding rubber. With flexible filament, unnecessary resistance in the path is worth eliminating wherever possible.
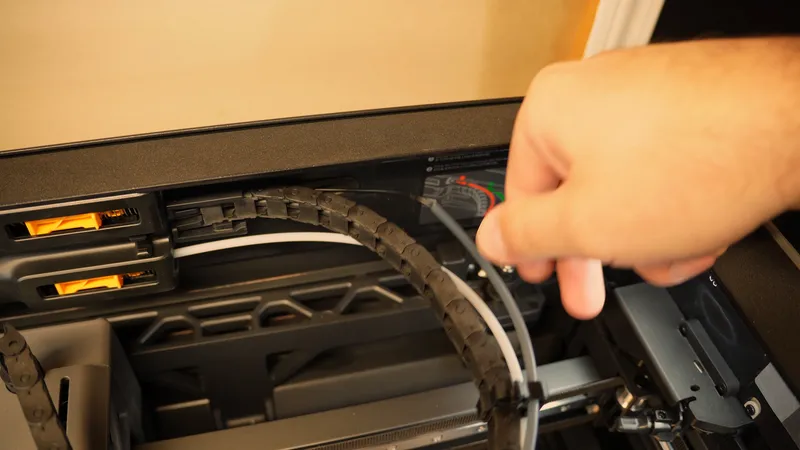
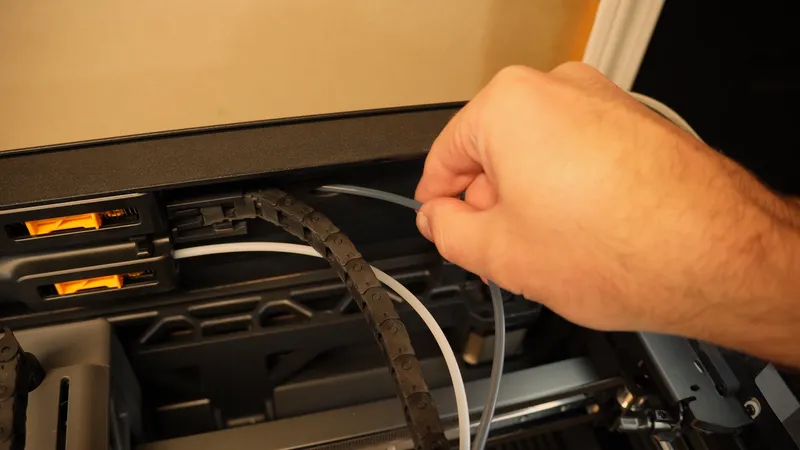
The goal is not complicated: give the TPU the straightest, lowest-friction path I reasonably can.
Manually Loading the TPU
With the filament path prepared, I set the right nozzle to 250°C for manual loading. Use the temperature recommended for the specific TPU being loaded rather than treating 250°C as a universal printing temperature.
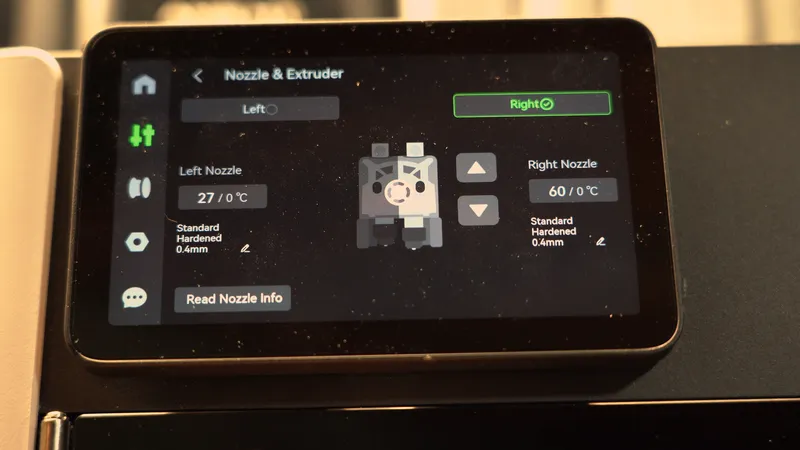
Once it reaches temperature, I manually feed the TPU into the right extruder. I push the filament down until it stops, then use the arrows on the printer's touchscreen to command the extruder to pull the TPU through. Continue until TPU is visibly extruding from the nozzle.
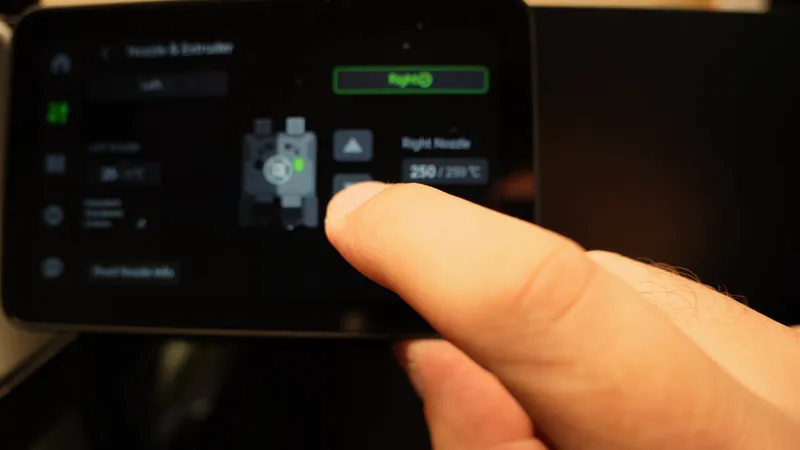
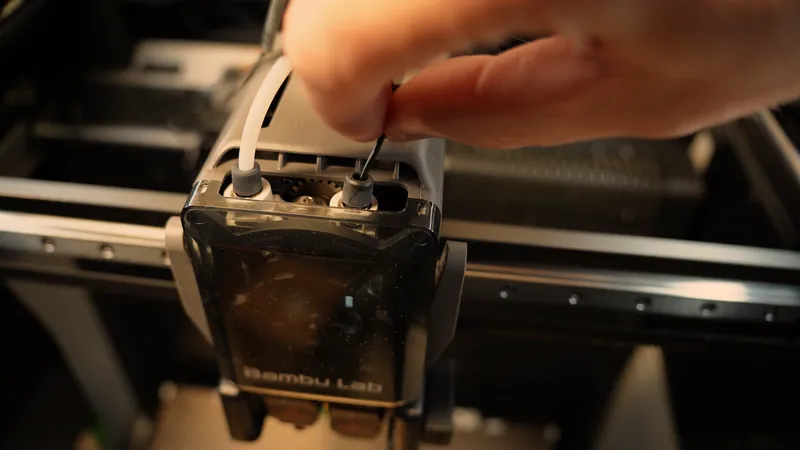
Hot end: 250°C for manual loading
Extruder: Right side
Filament path: External spool through rear TPU port
Goal: Minimize resistance between spool and extruder
Once TPU is flowing from the nozzle, I turn off the nozzle heater and reconnect the PTFE tube at the top of the printer. Keep fingers and tools clear until the nozzle has cooled.
The hot end and freshly extruded filament can cause burns. Keep fingers and tools clear of the nozzle while it is at printing temperature.
Spool Position Matters
The external spool should be positioned in line with the rear input port.
This sounds like a minor detail, but soft filament makes friction more important. Every unnecessary bend or rubbing point creates another place for the extruder to fight the filament rather than simply feed it.
With the spool positioned correctly, I use the printer interface to tell the machine what is attached to the external spool. In this case, I am using TPU 90A.
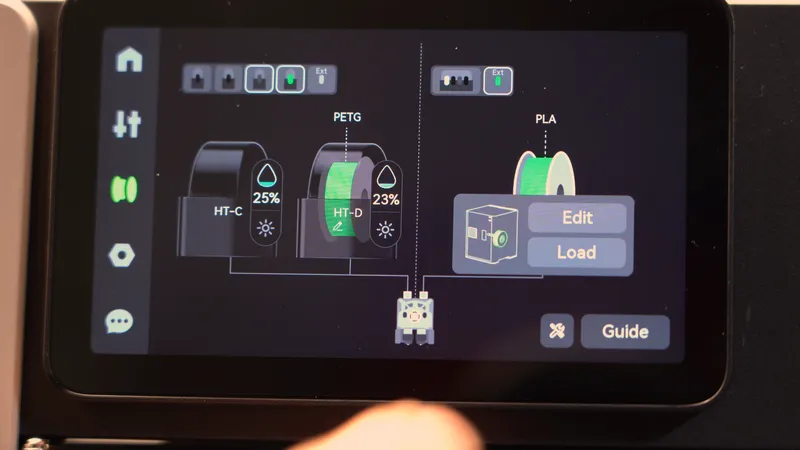
At this point the printer may ask about performing a cold pull.
Whether I do one depends largely on what was previously printed through that nozzle.
When I Perform a Cold Pull
I generally perform a cold pull when the nozzle has previously been used with higher-temperature filament.
TPU is soft enough that leftover material or debris in the nozzle can become a problem. Cleaning the nozzle first removes one more variable before printing.
On the H2 series, the cold-pull procedure is available through the printer's maintenance interface:
System Settings
→ Gear icon
→ Toolbox
→ Cold Pull Maintenance
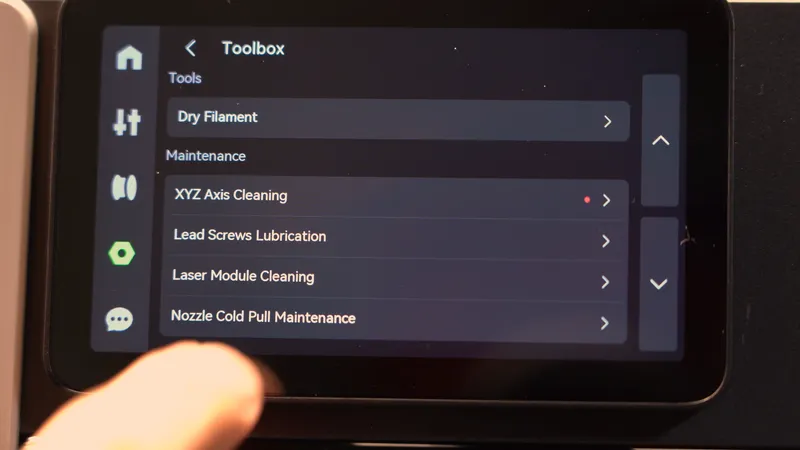
For this setup, I select the right nozzle.
I use PLA as the cleaning filament.
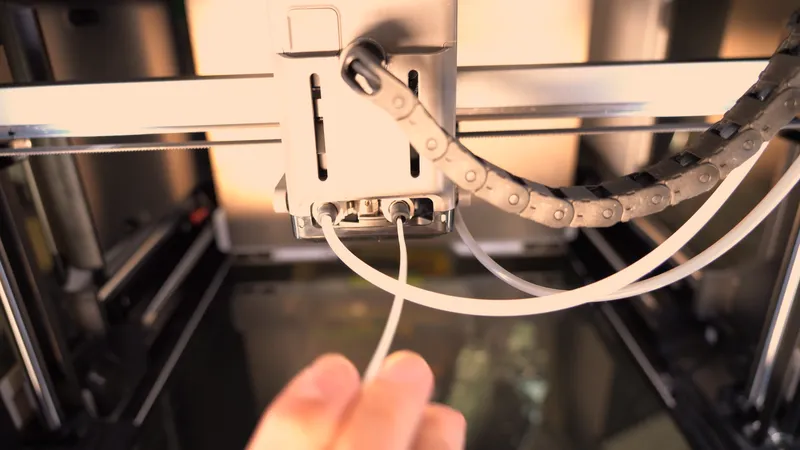
The printer handles much of the procedure automatically. It warms the nozzle and moves the tool head into position, then prompts me to remove the PTFE tube so I can access the filament path directly.
I insert PLA into the print head, and the printer extrudes it through the nozzle.
Then it begins cooling.
The idea is to let the PLA cool enough to grab onto residue inside the nozzle while remaining soft enough to pull back out. When instructed, I pull the PLA from the print head, ideally bringing old filament and debris with it.
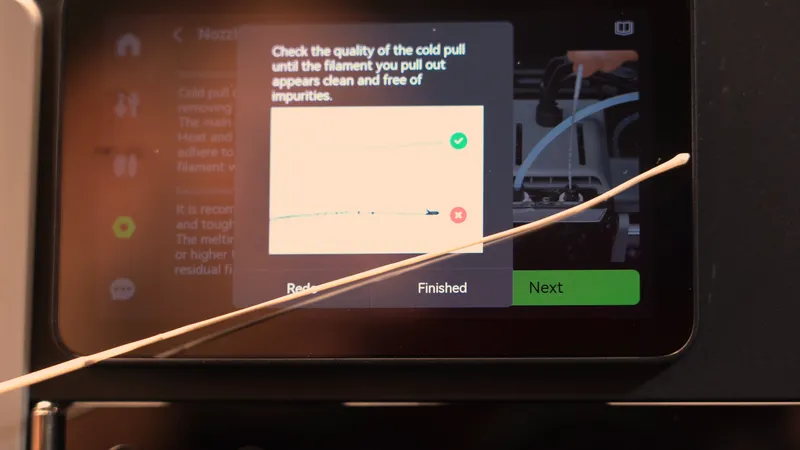
If the extracted filament still shows contamination, the process can be repeated until the nozzle is clean.
A Little Preparation Goes a Long Way
TPU is not particularly difficult once the filament path is set up for the demands of flexible material.
Keep the filament dry. Be cautious about build plate adhesion. Use TPU for AMS when the project calls for it, and bypass the AMS when the filament is too flexible. Give softer TPU a direct, low-friction path to the extruder, and clean out residue from higher-temperature materials when necessary.
After that, the H2 series does the part I wanted it to do in the first place: print.
And that opens up the more interesting question, which is what we can make once our printer is no longer limited to hard plastic.